Broox Api Tool
Broox test app is a simple desktop application. It is used to verify the correct operation of the Broox Vision Node output as well as the recovery of data from the database.
Installation
Windows
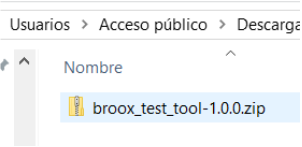
- Download the broox_test_tool-1.0.0.zip file
-
Extract the files to the selected folder
-
Enter the extracted files folder (broox_test_tool-1.0.0 by default)
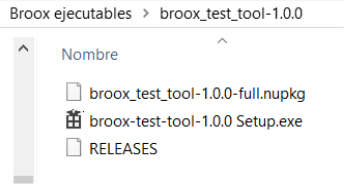
- Double-click on the executable (.exe) to start the application
Linux
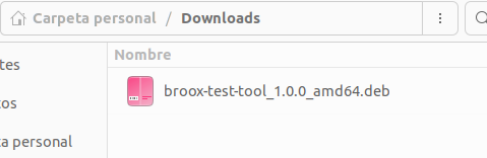
- Download the file broox_test_tool-1.0.0_amd64.deb
- Navigate to the .deb location with your terminal and install the application with the following instructions:
sudo dpkg -i broox-test-tool_1.0.0_amd64.deb

- Find the Broox Test App and launch it
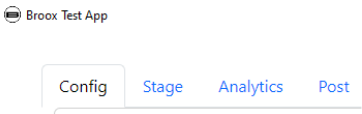
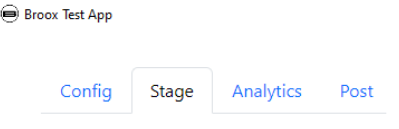
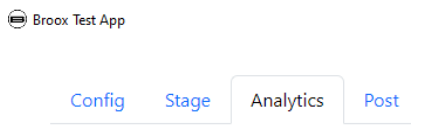
The application
Configuration
This tab is used to configure the operation of the rest of the application's tabs.
A. Analytics
The necessary configuration consists of 3 parts, host, account ID, and Account API Key. With these parameters, the application knows where to get the information requested.
This parameters can be obtained from Broox Studio.
- Host: Your Broox Studio instance (without https://)
- Account ID: Copy it from
Accounts, edit the requesting account and click to copy the account ID. - Account API Key: Like the ID, copy it from the account edition form.

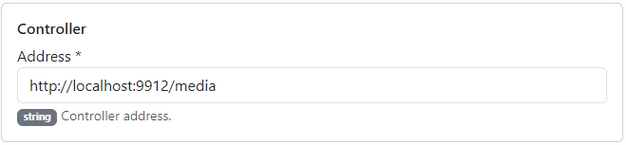
B. Controller
Your local Broox Controller URL. By default it listens at http://localhost:9912/media.
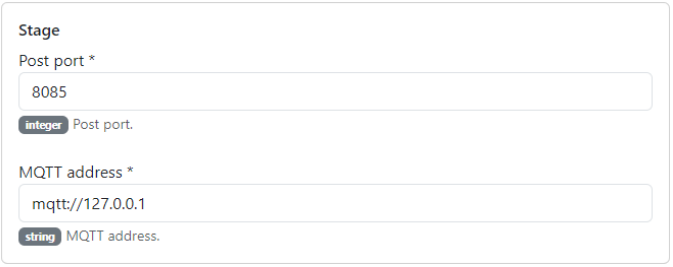
C. Vision Node Stage Reporting
Configuration of the two ways to get Vision Node state data: by HTTP POST to a defined address and by MQTT messages.
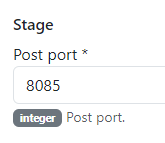
- HTTP Post Endpoint: The app will listen to this port for updates.
- MQTT Address: The mosquitto server listener address (defaults to localhost).
Stage
In this tab, you can inspect what data Vision Node is sending when active.
Using a drop-down menu we can choose the way to view said data: through POST to the configured port or MQTT to the configured address.
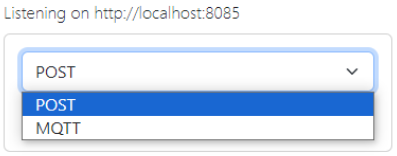
To ensure that the POST request functions properly, it is essential to configure a URL address in the Advanced Settings tool, on the API OUTPUT processor. This URL serves as the endpoint where the request will be sent. For example, you can specify a complete URL such as: http://localhost:8085
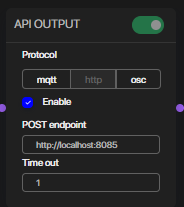
It is crucial to check the "Enable" checkbox.
This activates the necessary configurations for the tool to operate as intended.
The API Test Tool requires only the port information to be provided under the Config Tab for it to work effectively. Make sure to verify that the correct port is entered to avoid any connectivity problems.
Analytics API
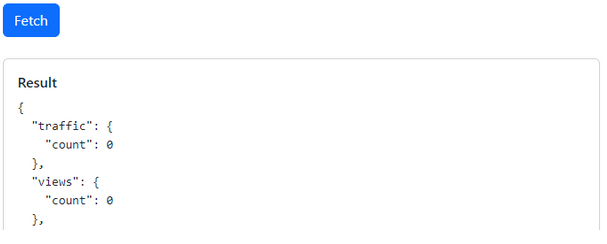
This tab allows calling the Analytics API to view what data can be requested.
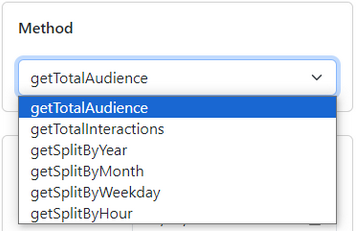
A. Method
It is a drop-down menu that allows us to choose the specific data that we want to recover from the database or how we want to recover it.
B. Filters
It is a panel that makes it possible to mark a time range as well as filter by Location, Installation, or Campaign.
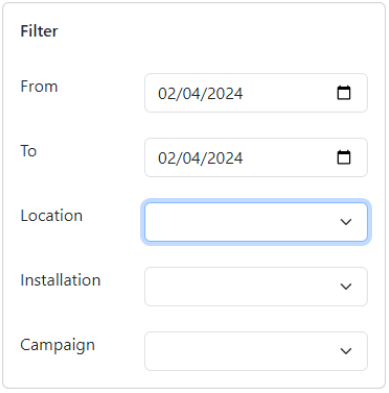
Once all the details have been chosen, click on the Fetch button so that the application shows the requested data in the Results section that appears.
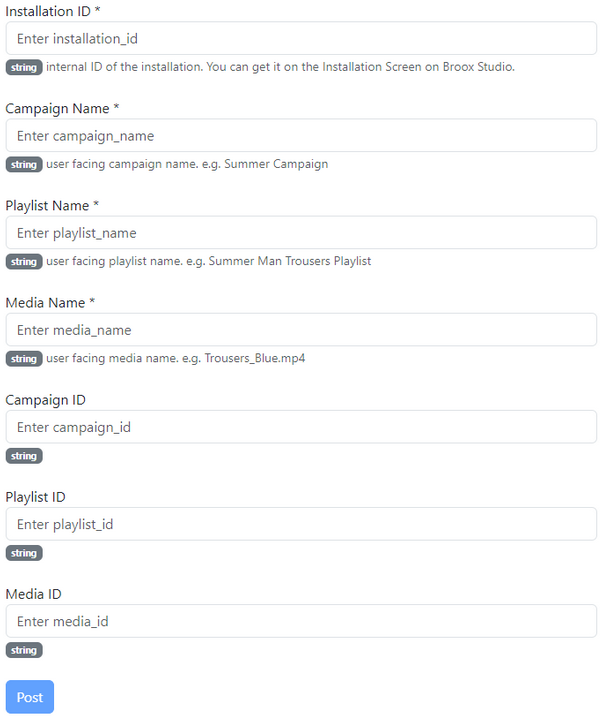
Player State Post
Some customers have already deployed a media player system before audience analytics are required.
In this case, they don't need all the tools that Broox Studio brings them to manage media content. To combine the content that they are broadcasting to their media players with audience analytics, they have to post the content displayed to Broox Controller so it can send it together with the Vision node data to Broox Studio.
In this tab, you have to specify the Broox Studio installation that is going to store all the data and add campaign, playlist, and media names to let the analytics studio dashboard provide the data sorted and classified.
For more information, consult the following support page: https://dev-broox.github.io/support/controller/docs/analytics/